Looking for the best tips for visiting Yellowstone so you know what to expect? You’re in the right place!
Yellowstone is an incredible destination with diverse landscapes, wildlife, and unique adventures.
However, it also requires a bit of preparation and planning to ensure a smooth experience – especially if this is your first time visiting.
As someone who loves a trip’s research and planning stages, I spent countless hours down the rabbit hole, finding all the essential travel tips and things to know before our own Yellowstone family vacation.
Luckily, I’ve noted everything I found and what we learned during our trip to help guide you and make your trip legendary.
Whether you’re looking for advice on when to book accommodations, wondering how to avoid crowds, or what to expect for cell phone coverage, you’ll find it here. (Spoiler alert: You’ll want to book those accommodations as early as possible, 9-12 months in advance!)
Let’s get started!
🎧 I love this self-guided audio tour to learn more about the park during your visit!
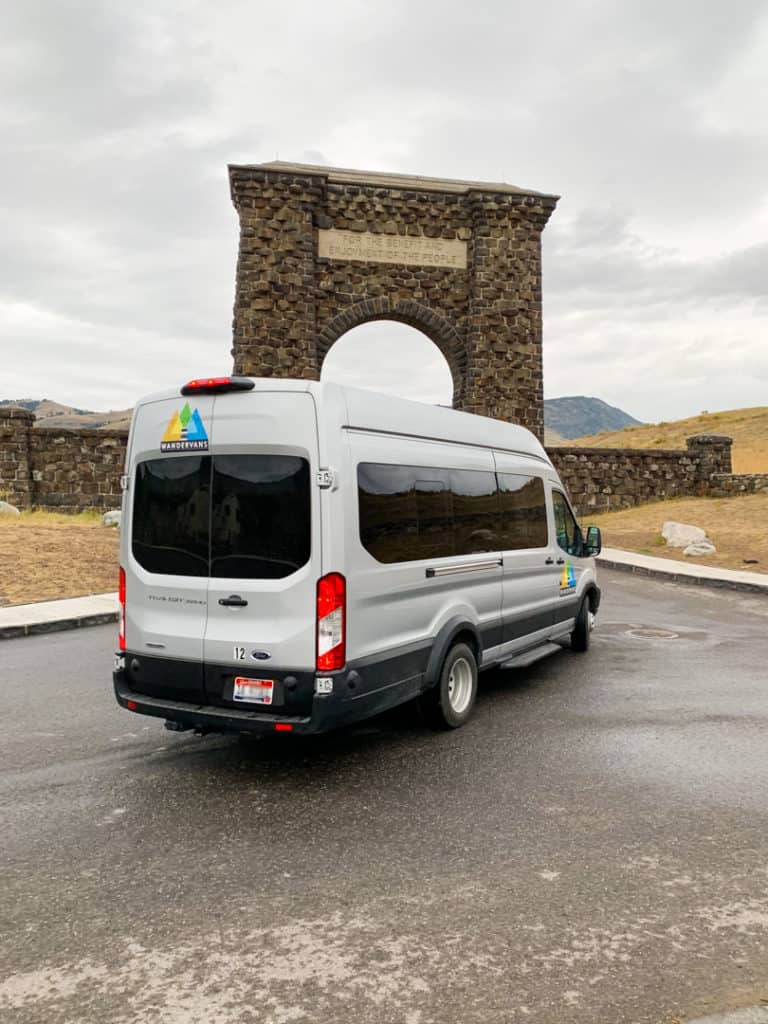
1. Know Your Entrance Pass Options
When planning your visit to Yellowstone, one of the first steps is figuring out your entrance pass options. You’ve got a few choices here, each with its own set of perks.
- America the Beautiful Pass: My top recommendation for adventurers exploring beyond Yellowstone. If your year includes visits to other National Parks, Forests, or Recreation sites, this pass offers incredible value, granting access to all federal lands for a year. It’s the ultimate pass for the explorers at heart, aiming to soak in as much of America’s natural wonders as possible.
- Yellowstone Annual Pass: Best suited for Yellowstone enthusiasts who visit this park multiple times a year. It offers unlimited access to Yellowstone for 12 months (but not other parks), perfect for those who can’t get enough of its natural beauty.
- Standard (7-day) Entrance Pass: Ideal for those planning a one-off exploration of Yellowstone up to a week long. This pass gives you seven days of unlimited access to the park’s geysers, wildlife, and landscapes.
2. Book Your Accommodations Ahead of Time
To secure your spot in the heart of Yellowstone’s wilderness or its cozy lodges, you’ll want to mark your calendar and start looking at accommodations 9-12 months in advance.
I know, I know…that sounds early, but Yellowstone’s popularity means spots fill up super fast!
This early bird strategy is especially crucial if you’re eyeing peak travel seasons or have specific accommodations in mind. Booking ahead gives you the best chance to choose the lodging that best fits your adventure style and budget.
Yellowstone offers a variety of lodging choices, ranging from rustic cabins and campgrounds to luxurious hotels. Each provides a different way to experience the park, whether you’re listening to the call of the wild from a tent or enjoying the comforts of a hotel room after a day of exploration.
You’ll find some of the best options on the map below where I’ve marked my top suggestions in orange for you.
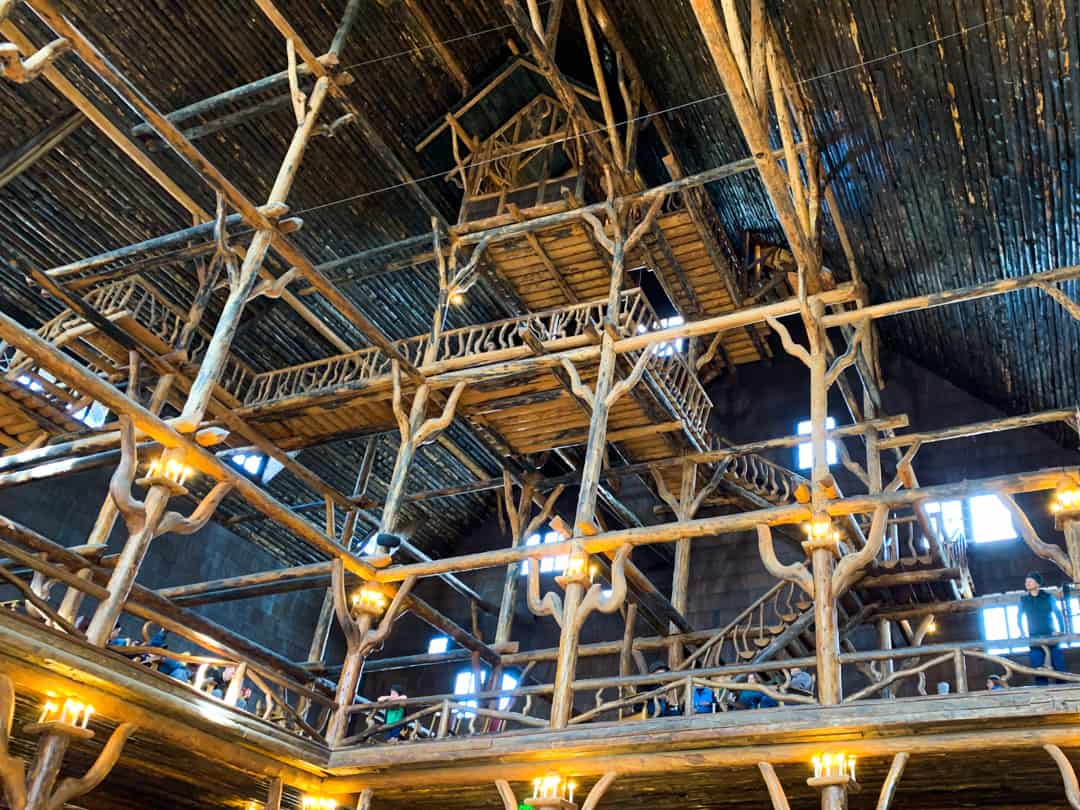
And if you’re looking for a genuinely unique Yellowstone experience, consider staying in one of the historic accommodations in the park, such as the Old Faithful Inn. Its rustic charm and architectural grandeur offer a glimpse into the park’s past.
3. Plan Your Itinerary in Advance
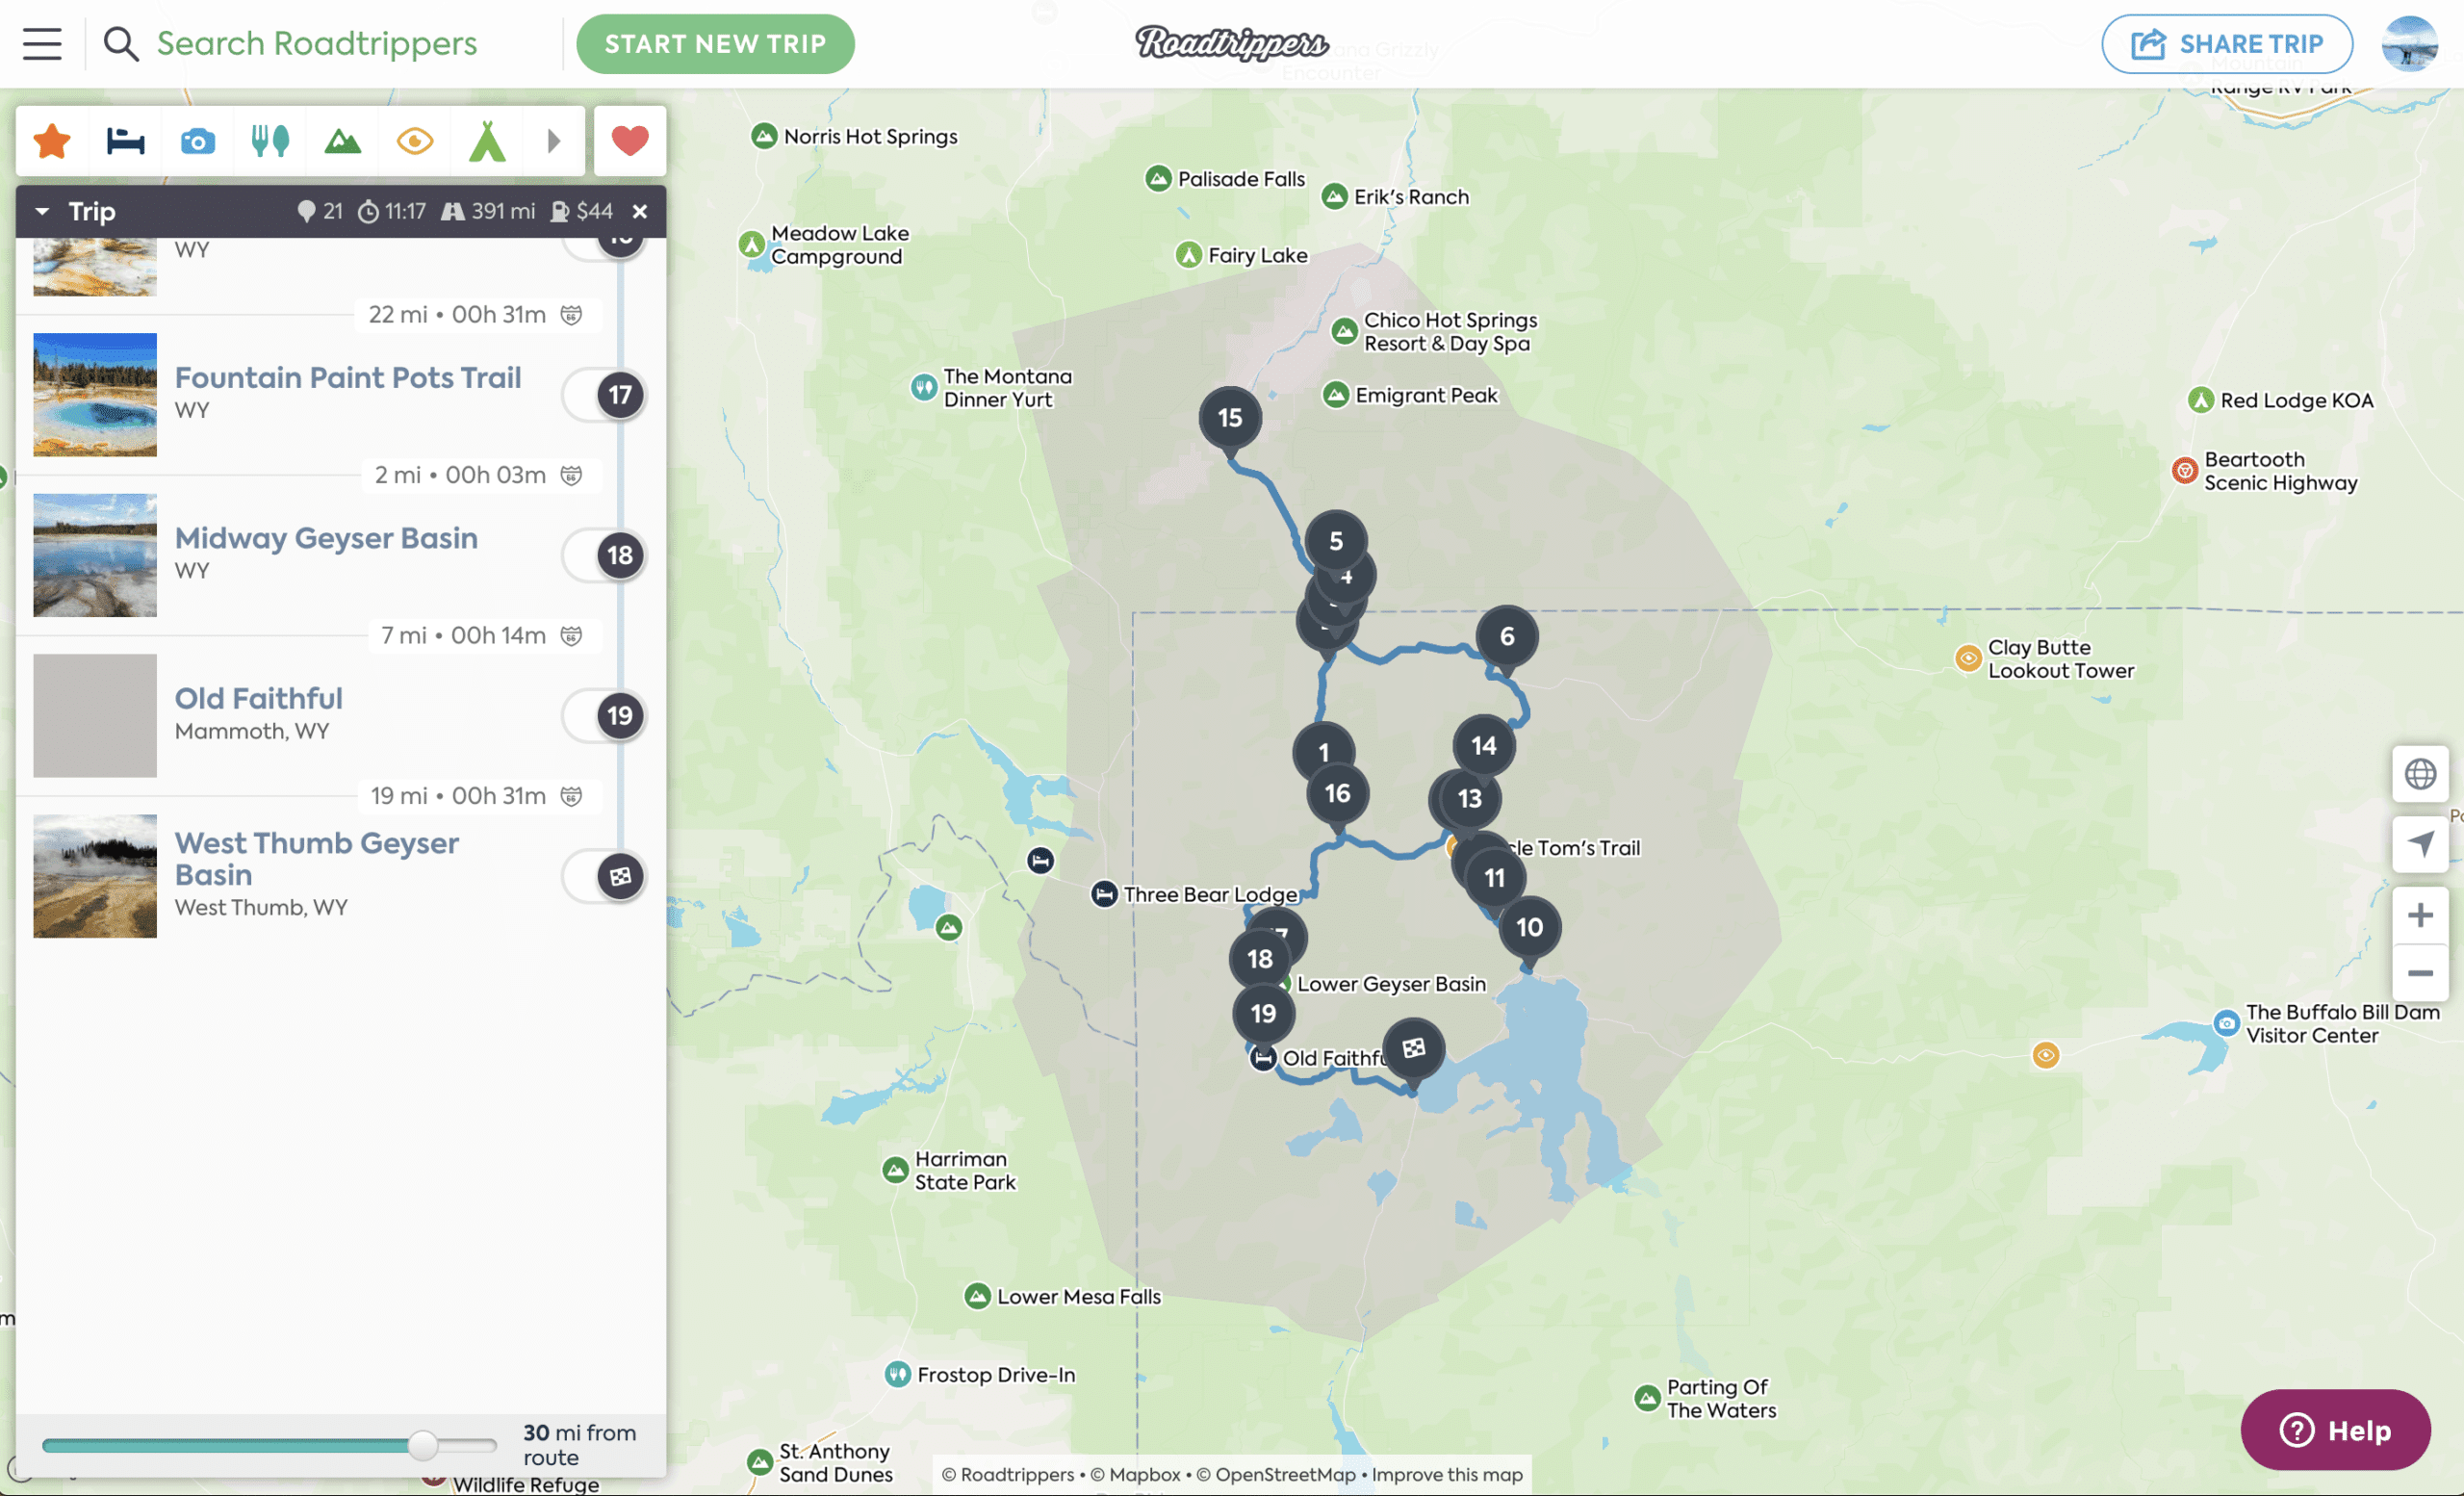
Crafting your Yellowstone itinerary in advance is vital to seeing the park’s must-see attractions while ensuring you don’t wander aimlessly.
Yellowstone’s expanse, sprawling over 2 million acres, is breathtaking. But without a plan, you might waste excess time on the road instead of enjoying the top spots in the park.
For example, during our visit, having a well-thought-out itinerary meant spending a night at Canyon Campground made it easy for us to visit Hayden Valley at dawn to watch the wildlife – without sacrificing more precious sleep. 🙌
If you want my done for you itinerary plus tips and more, snag a copy of my Yellowstone Trip Guide & Planner below. 👇
Yellowstone National Park Trip Guide & Planner
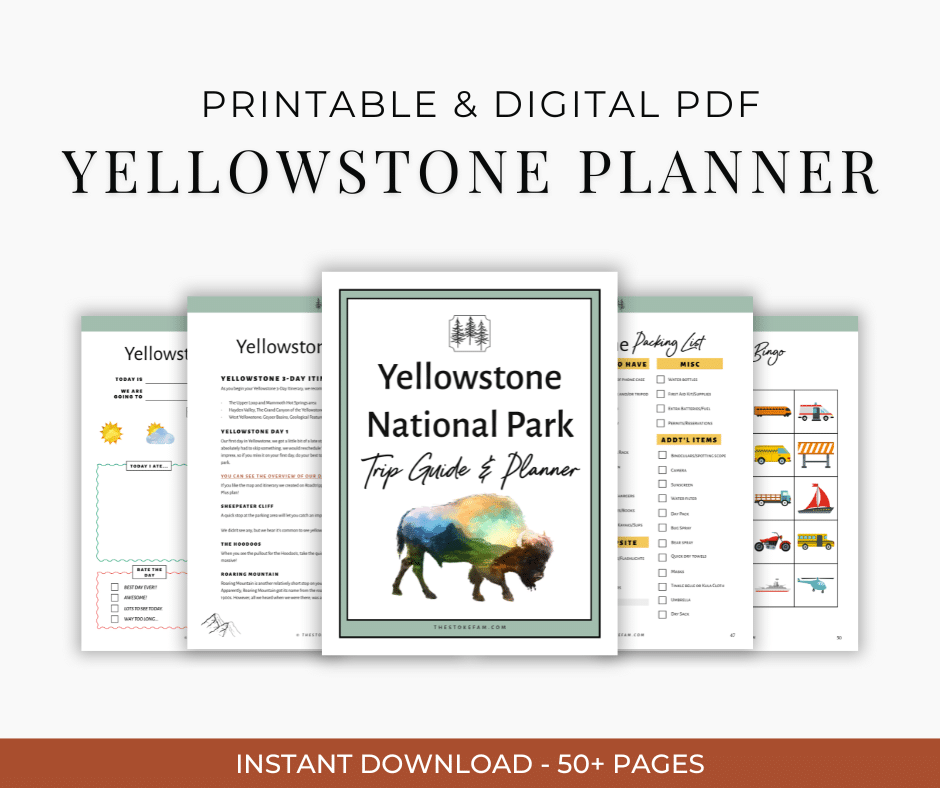
Make planning easy with my detailed Yellowstone National Park Trip Guide & Planner!
4. Know Where Gas Stations are Located
In addition to planning your itinerary ahead of time, you’ll want to take note of where to find fuel for your vehicle.
While Yellowstone is massive, several service stations are located at Old Faithful, Grant Village, Fishing Bridge, Canyon, Tower/Roosevelt Junction, and Mammoth Hot Springs, making it reasonably easy to find gas when you need it.
Generally, these stations are all open through the summer months but keep in mind that construction or weather conditions can occasionally cause closures.
If you’re traveling in the off-season, you’ll want to pay special attention to the operating dates for each location.
Because most major areas have fuel, it’s not typically an issue. However, our preference was to fuel up towards the beginning of the day whenever we were close to a gas station. This way, we didn’t end up stressing out or scrambling to backtrack later in the day.
If you stay outside the park, many gateway towns will also have fuel stations available.
5. Visit Historic Places
Yellowstone is more than just natural wonders and wildlife – it’s also a peek into history.
There are several locations within the park that hold historic designations, either as Historic Places or National Historic Landmarks.
A few to consider adding to your Yellowstone bucket list are the Mammoth Hot Springs Historic District and the Roosevelt Arch, the Old Faithful Area (including Old Faithful Inn), and three Trailside Museums (located at Fishing Bridge, Madison Junction, and Norris Geyser Basin).
In particular, the Old Faithful Inn was a highlight of our visit for me. I was immediately impressed by its architectural beauty and charm. I can only imagine how amazing it must have been when bands played in the Crow’s Nest while visitors danced below. 🤩
6. Consider Visiting in the Shoulder Season
Choosing when to visit Yellowstone can be as crucial as deciding what to see and do. Most people visit the park in summer, but there are other times of year worth visiting.
In fact, you can even visit in winter for a completely different experience, observing wildlife in a unique environment without the hustle and bustle of summer.
However, my top recommendation is to visit the park in early June or September when the weather is still likely to be mild – along with fewer crowds.
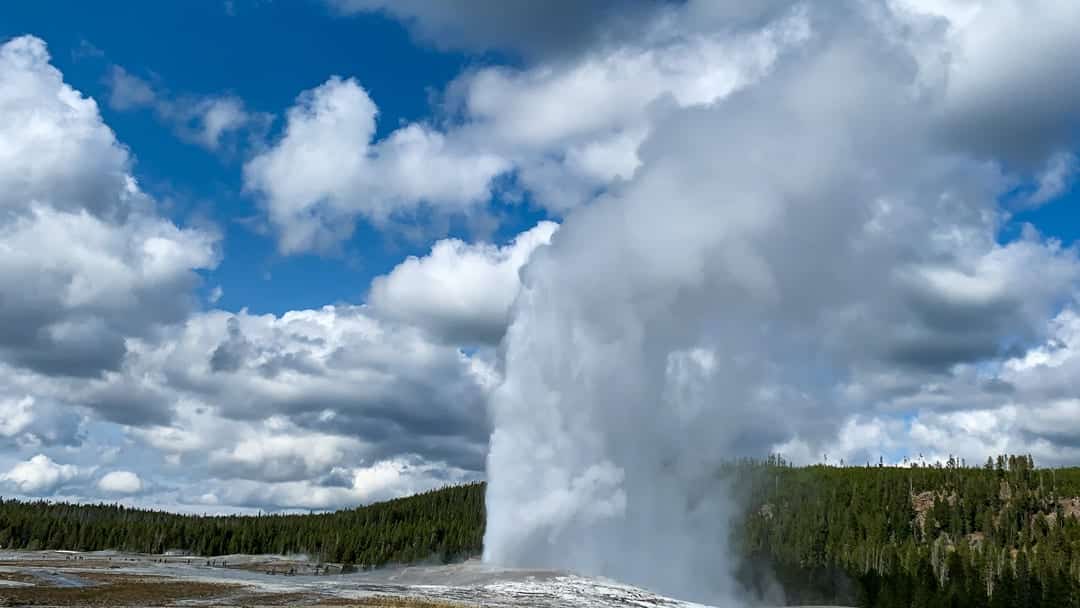
Our own adventure in September was ideal. While some major attractions were still busy at the height of the day, it was easy enough to plan our schedule around those times. For instance, when we saw Old Faithful Geyser one afternoon, we were able to park easily and walk directly up for an almost front-seat view of the eruption.
Plus, we even found ourselves soaking up a handful of popular spots practically alone!
Visiting in September also meant the weather was a little cooler than summer, but the snowstorms of winter hadn’t quite settled in yet. However, it did snow at the highest elevations in the park on our final day!
7. Be Flexible with Your Schedule for Fewer Crowds
Flexibility is your best friend when navigating Yellowstone, especially if you want to dodge the crowds.
Our strategy? Hit the popular spots early in the morning. Not only does this offer a serene start to your day, but it also means sharing the beauty of places like Grand Prismatic Spring or Lamar Valley with just a handful of other early risers.
While it’s not feasible to hit all the top locations first thing, if you can visit even one or two before the crowds are out, it is worth it! By 9 am, the park will be bustling and at its busiest until mid-afternoon while most people are out and about.
We also found that meal times and early evenings can also work in your favor. While most visitors are heading to lunch or dinner, it’s your cue to explore. These off-peak hours often feel like Yellowstone’s best-kept secret, offering quieter moments at attractions that are packed full at other times.
We made this work by having some quick grab-and-go breakfast items, such as muffins, to eat on the way to our first stop of the day. Then, when the parking lots started filling up, we stopped for a more conventional, full breakfast to fuel up for the day.
Note
Having an RV for your family or group (campervan, truck camper, etc.) makes this easy. But even if you’re staying in a hotel, packing a cooler with food for a couple of meals (and maybe even a camp stove) will work!
Remember, Yellowstone’s vastness means there’s always something new around the corner. If you find a spot that is too crowded, it’s the perfect opportunity to check out your plan B.
We did this several times – especially when our planned stops were close together, and it worked out great! This approach not only helps avoid crowds, but it could even lead to unexpected discoveries and experiences that might just become the highlight of your trip.
8. Explore Off the Beaten Path
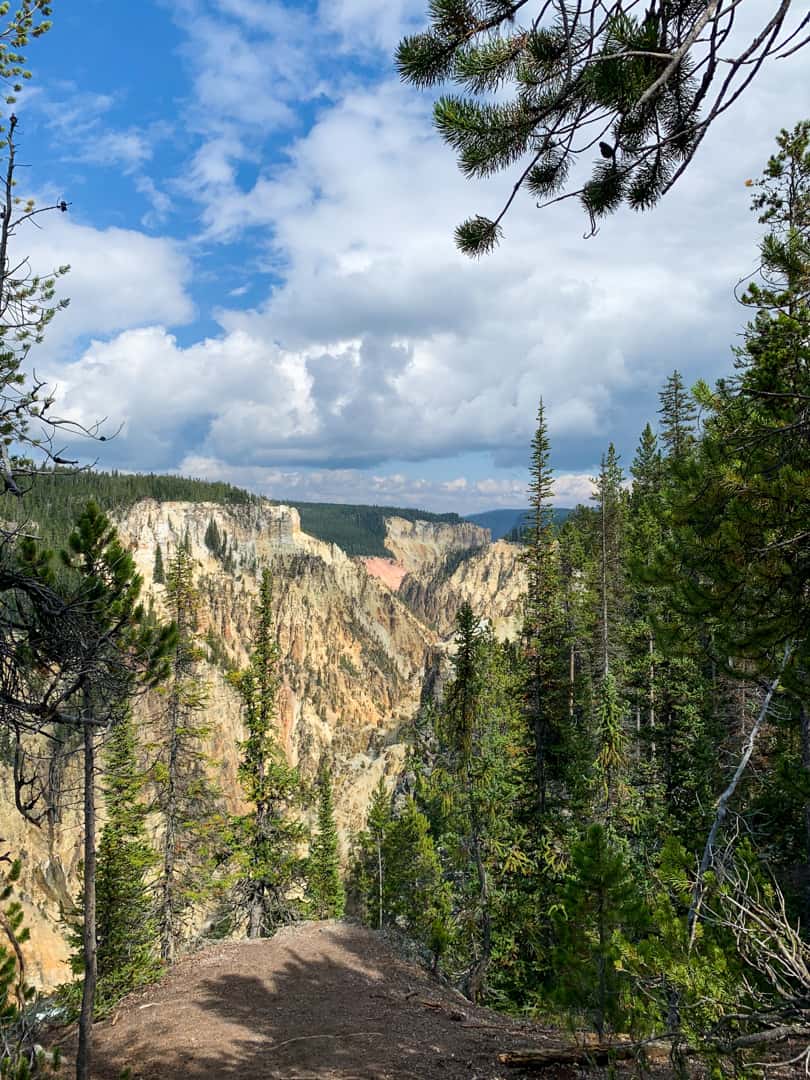
Yellowstone’s main attractions, like Old Faithful and the Grand Canyon of Yellowstone, are undeniably breathtaking. Still, there’s a whole other world within the park that many visitors overlook.
Venturing off the beaten path can lead you to some of Yellowstone’s most tranquil and untouched spots.
During our visit, we made it a point to explore some of the less-traveled trails. We were rewarded with peaceful hikes, stunning scenery, and wildlife sightings. Places like the Artist Point-Point Sublime Trail, which offers amazing views of the Grand Canyon of the Yellowstone, became a highlight of our trip.
Truth be told, even taking a short walk down trails away from the most popular areas, you’ll start to notice the crowds dissipate.
So, while planning your Yellowstone adventure, include a few lesser-known gems in your itinerary. It might require a bit more research and a willingness to venture further, but the rewards are well worth it.
Alternatively, you can take a guided tour that allows you to venture into less-visited areas of Yellowstone such as the options below.
9. Expect Limited Cell and Wi-Fi Coverage
Just a heads up—most of Yellowstone is pretty much a dead zone for cell and wi-fi. 😅
Sure, you’ll find a signal in the bigger campgrounds and villages, but beyond that, it’s pretty sparse.
Wi-fi is mainly for those staying in hotels. And even then, it’s not what you’re used to back home. We’re talking “one device at a time” kind of limited, and that’s if you’re staying in one of the locations that offer it.
During our family’s trip, we quickly adapted to the lack of coverage – even the kids! So many things to look at combined with an audio tour from GuideAlong kept us all entertained.
So, before you head out, download everything you might need—maps (we used Roadtrippers), guides (like this one), and any last-minute details. Trust me, you’ll thank yourself later.
10. Plan for Extra Time
Yellowstone doesn’t always stick to your schedule, and that’s part of its charm.
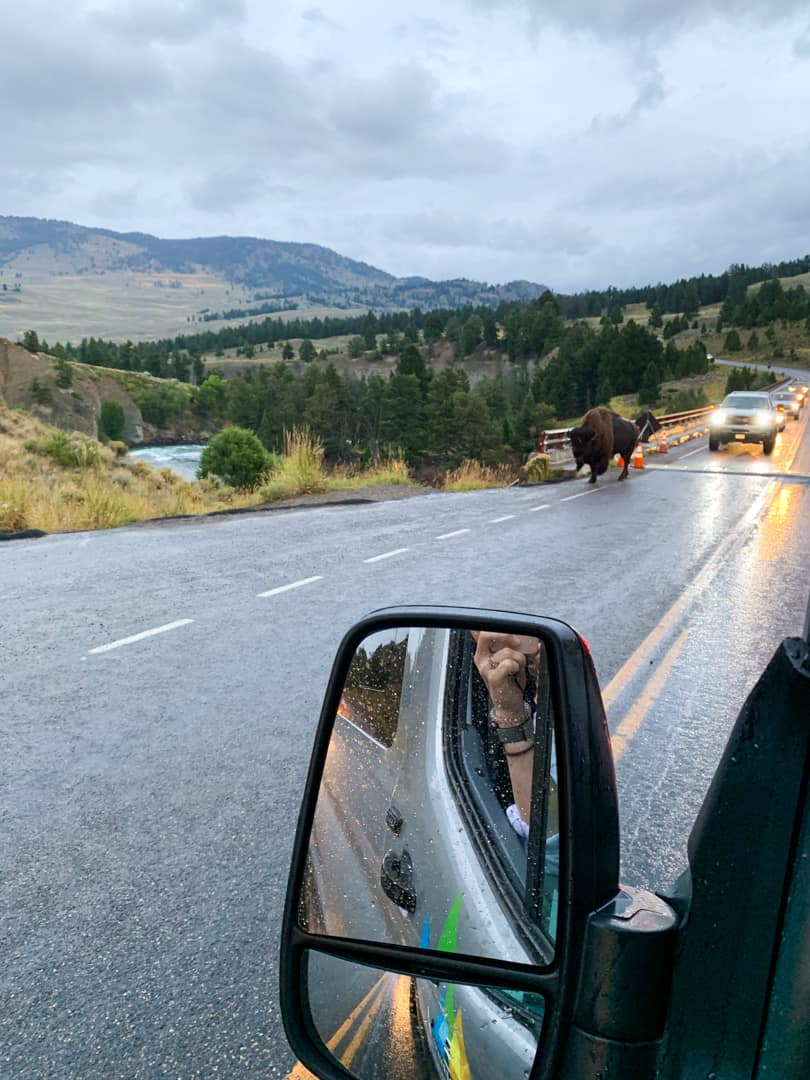
Bison jams? They’re a real thing. It’s an only-in-Yellowstone kind of traffic jam, and honestly, it’s pretty awesome.
Parking is another story. Finding a spot at major attractions can feel a bit like snagging a spot at the mall on Black Friday. On our trip, getting to places early or during off-peak times saved us from the worst of it, turning potential headaches into smooth sailing.
So here’s the deal: when planning your itinerary, you’ll want to include a bit of a buffer each day for the unexpected.
And remember that a little patience goes a long way. Those delays, whether for a family of elk or a full parking lot, are part of the adventure of Yellowstone.
11. Pack Your Own Food
Or at least some of it.
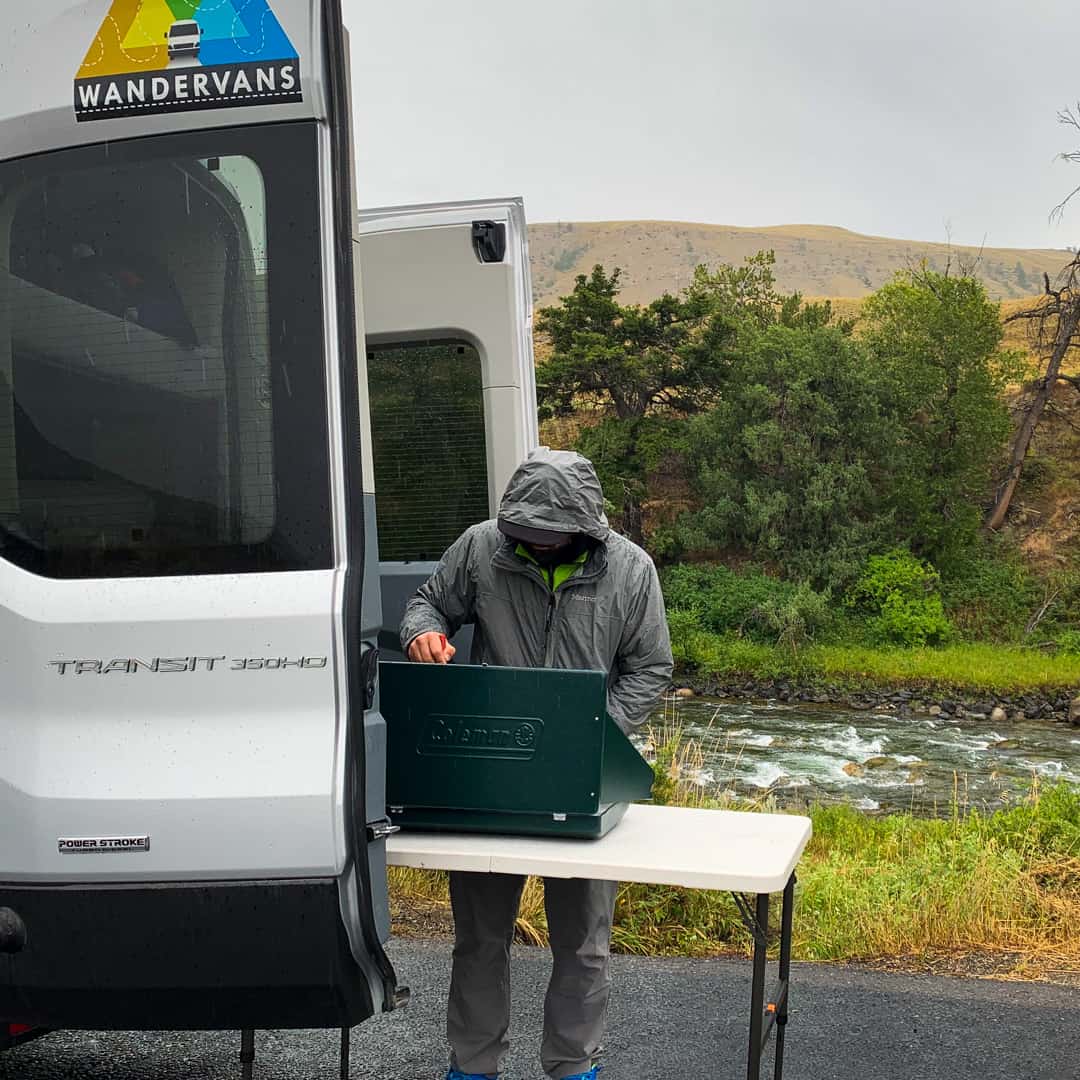
In Yellowstone, where the next restaurant could be miles away, having your own stash of snacks and meals is a game changer.
On our trip, packing our own food meant we could stop for a picnic wherever hunger struck without worrying about where the nearest food stop was. Plus, it allowed us to adjust our schedule around crowds as needed. 🙌
Aside from the convenience and cost-savings, it also allowed us to have meals in stunning locations – such as alongside the river while we watched bald eagles fly overhead. So cool!
12. Plan for Varied Weather
In Yellowstone, the only constant in weather is change.
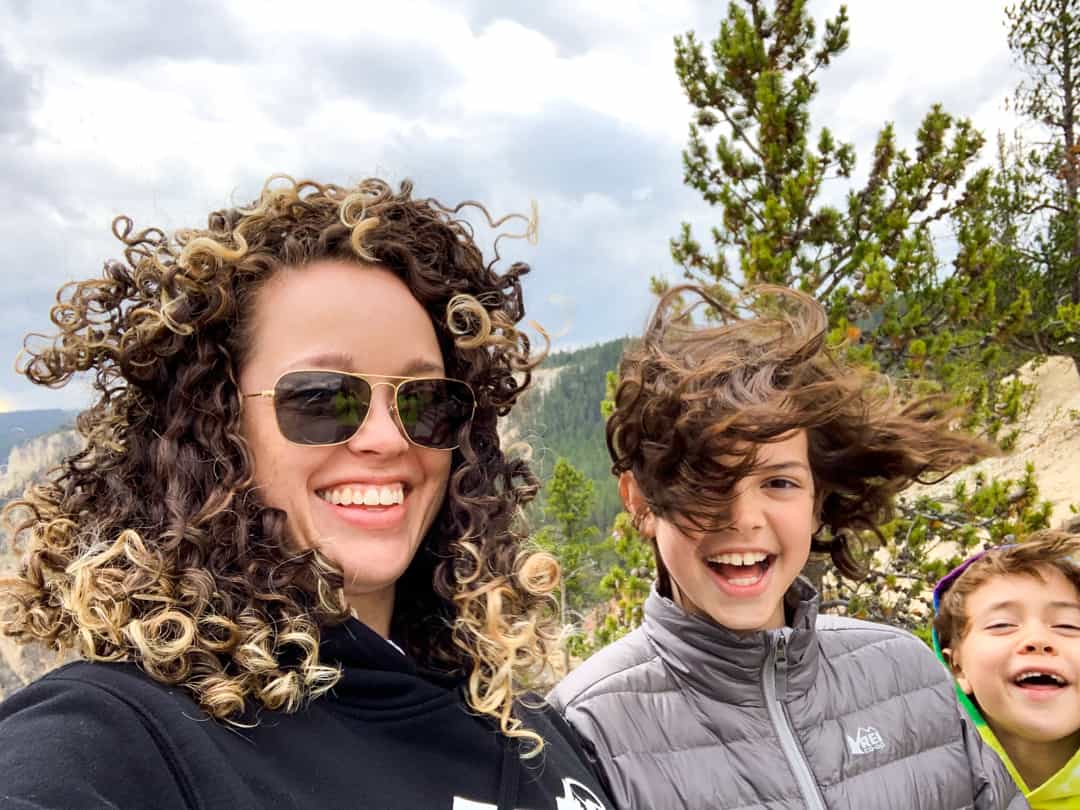
Even in the height of summer, mornings can greet you with a chill, afternoons can turn surprisingly warm, and evenings often call for a cozy layer (or two). This rapid change in weather means packing and dressing in layers is a must.
We quickly learned the value of being prepared for all conditions on our trip – we ran into everything from warm sun to wind to rain and hail. I was so glad we’d planned accordingly and packed our layers!
A fleece or insulated mid-layer was perfect for those cooler mornings and evenings, and a breathable baselayer was perfect for sleeping at night or wearing under clothes during the day. Topping it off with a waterproof rain jacket meant we were ready for whatever the day threw at us.
And be sure to remember sun protection! Because the park sits at high elevations, UV rays can be intense, even on overcast days. A good sunscreen, a wide-brimmed hat, and sunglasses are essentials in your Yellowstone packing checklist.
We also like to keep a warm hat and gloves stashed in our daypack. They take up little space but can make a world of difference when the temperature drops unexpectedly.
13. Bring Your Binoculars & Camera
Don’t forget your binoculars and camera when you pack for Yellowstone. Seriously, they’re as essential as your layers here!
Because Yellowstone is so vast, animals won’t always be close (and it’s important to keep your distance).
A good pair of binoculars brings the action closer, and a camera with a decent zoom lets you capture those “wow” moments.
We took two pairs of binoculars (the Vortex Optics Diamondback Binoculars and a more budget-friendly pair of binoculars for the kids) so we were ready for wildlife spotting.
This meant we had to share two pairs between four people, which worked out okay. But if you’re able to bring a separate pair for everyone in your group, it would definitely be better (and probably cut down on arguments between siblings 😅).
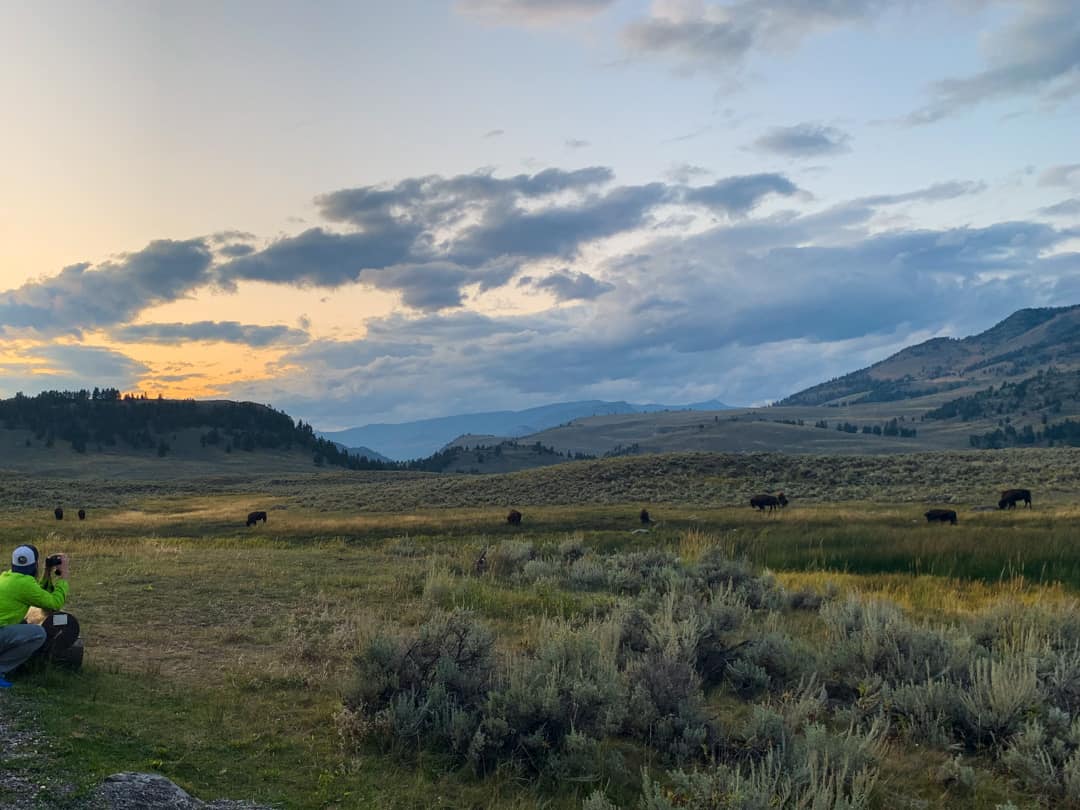
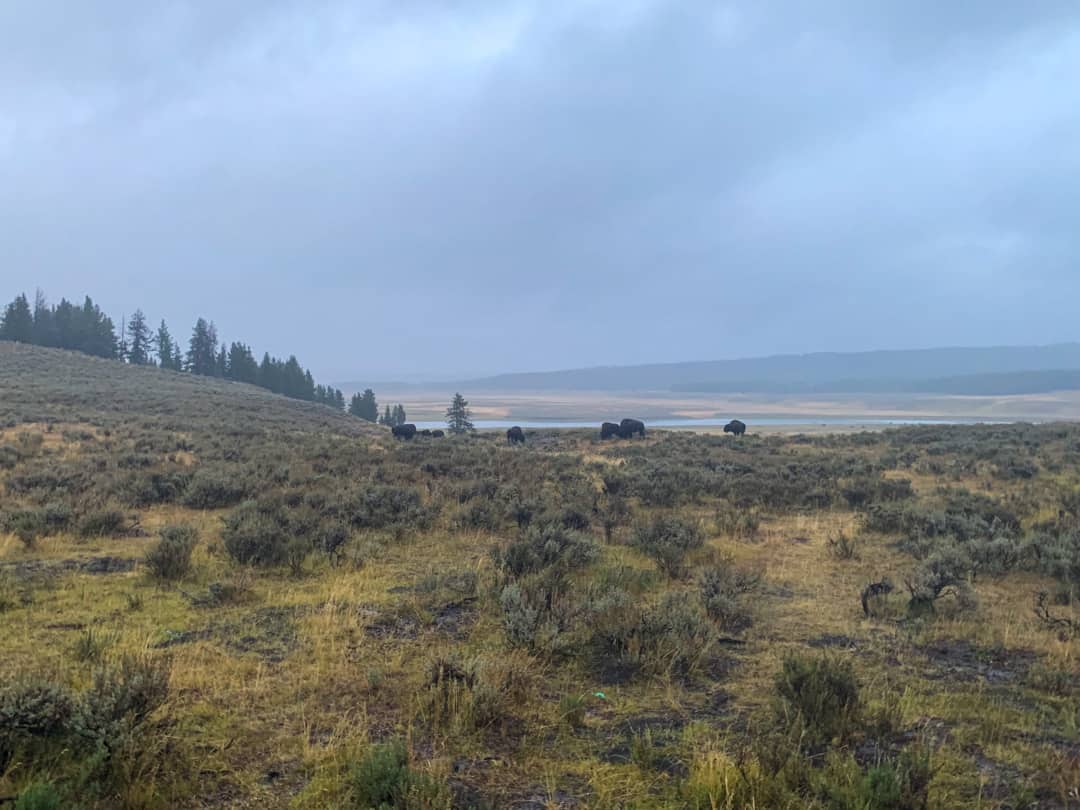
Spotting bison in Hayden and Lamar Valleys was a treat. It’s one thing to see them from a distance but another to watch the details up close.
Our kids, glued to (and sometimes fighting over) the binoculars, got a kick out of guessing which bison was the boss. It turned our wildlife watching into a fun game of ‘Bison Family Dynamics.’ 🤪
At the time, I didn’t have a “fancy” camera and only used my cell phone! If that’s all you have, you can still take some great photos, but if you can bring a camera with a zoom lens (whether you buy or rent), I highly recommend it.
Next time we go, I’ll pack the camera I have now and rent a larger zoom lens for those epic wildlife shots!
14. Remember Important Safety Tips
Yellowstone is incredible, but it is also full of wild animals and thermal areas that can be dangerous without a bit of caution.
Here are a few tips and safety guidelines to keep you and your family safe while also protecting the wildlife and landscapes.
Admire Wildlife from a Distance
The animals in Yellowstone were one of our favorite things to see! Wildlife such as bison, elk, and bears are amazing to watch but can also be unpredictable.
You’ve likely heard stories about people getting injured (or worse) by animals in the park. The reality is that it does happen. Most of the time, it’s due to people encroaching on their space or exhibiting behaviors that make the wildlife feel threatened.
However, because there are no fences to protect you from the animals in Yellowstone, freak accidents, although rare, are a possibility. Here are a few things you can do to observe these incredible creatures in the safest manner possible.
- Do NOT approach wildlife. The National Park Service (NPS) recommends keeping a minimum distance of 100 yards between yourself and bears and wolves and over 25 yards from bison, elk, and all other animals. Use those binoculars and cameras to get a closer look while keeping your distance!
- Use pullouts. One of the safest places to observe wildlife is from your vehicle. Pull over to avoid blocking traffic while getting a great view. And, if you happen to get stuck in a bison jam, stay with your car.
- Don’t share food with wildlife. Whether it’s a small chipmunk or a bear, you don’t want to share your food with the animals in Yellowstone. Wildlife that gets used to being fed can become aggressive. Animals that are aggressive toward people often have to be put down for the safety of visitors. If you’ve ever heard the phrase “a fed bear is a dead bear,” this is why.
Thermal Area Safety Tips
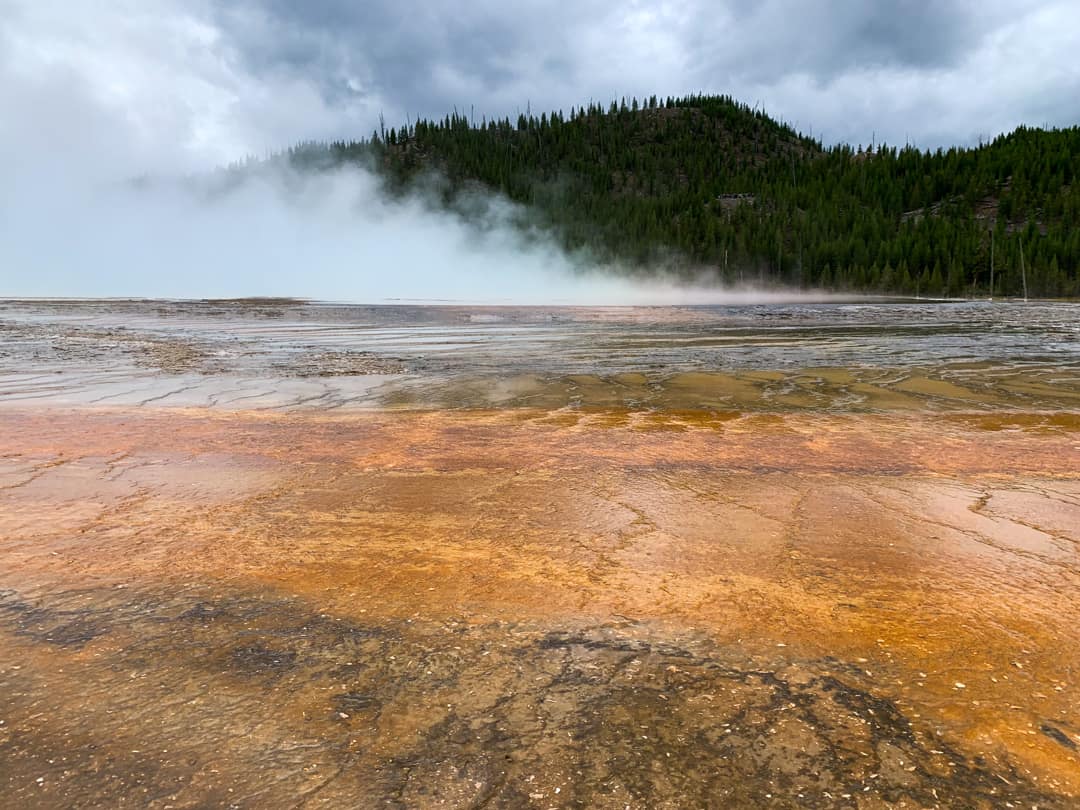
- Don’t touch. Yellowstone’s thermal features are stunning but can also be incredibly dangerous. Touching or falling into these features can cause significant (or even fatal) burns.
- Stay on boardwalks and designated trails. During your visit, you’ll notice that many geyser basins and other areas have designated boardwalks for foot traffic. This is to protect both the landscape and you. Often, what looks like solid ground can actually be a thin crust that can easily break.
- Leave pets behind. Pets aren’t allowed in thermal areas, so you’ll want to plan accordingly.
- Keep kids close. Especially if you have a toddler who is a runner, like one of ours (who will remain nameless) was. 😅 I’m all for (safe) independent exploration. But little feet can move incredibly fast, and this isn’t the place to let them run wild. In situations like this, we would use a carrier, stroller, or hold on to them constantly.
15. Know The Best Places and Times to See Wildlife
Yellowstone is a wildlife enthusiast’s dream come true, providing some of the best wildlife spotting opportunities in the world. To increase your chances of spotting the park’s iconic animals, timing and location are everything. Here’s the lowdown on when and where to go for those unforgettable wildlife experiences.
Lamar Valley: The Wolf-Watching Hotspot
Lamar Valley, often called America’s Serengeti, is the place to be if you hope to glimpse wolves in their natural habitat. The best times to see these elusive creatures are at dawn and dusk when they are most active.
Early morning, in particular, is a magical time in Lamar Valley. As the first light creeps over the horizon, you might also spot bison, elk, and pronghorn waking up to start their day.
Bring your binoculars and a sense of patience. You may need to find a spot, settle in, and watch for a while.
Hayden Valley: A Wildlife Wonderland
Hayden Valley is another prime spot for wildlife watching, known for its large herds of bison and frequent bear sightings. Like Lamar Valley, dawn and dusk are the golden hours for wildlife activity here.
The soft morning light provides a perfect backdrop for photography, and the cooler temperatures encourage animals to roam freely before the heat of the day sets in.
Keep your eyes peeled for grizzly bears, especially in the early summer and fall when temperatures are less intense.
Tips for Wildlife Watching Success
- Stay Safe and Respectful: Always keep a safe distance from wildlife. Remember, these are wild animals we are seeing in their natural environment. Use your binoculars and zoom lenses to observe them safely.
- Be Quiet and Patient: Wildlife watching often requires a bit of patience. Move quietly and keep a low profile to avoid disturbing the animals.
- Use Pullouts: Take advantage of the designated pullouts to stop and observe wildlife safely and avoid blocking traffic.
- Join a Guided Tour: If you want to learn more about Yellowstone’s wildlife and ensure you hit all the best spots, consider joining a guided tour. Local experts know the park like the back of their hand and can often steer you to places where wildlife sightings are more likely.
16. Bring (or Rent) Bear Spray and Know Basic Bear Safety
Yellowstone is home to both grizzly and black bears, making bear safety an essential part of your visit. While threatening bear encounters are rare, being prepared can make all the difference. Here’s what you need to know about bear spray and staying safe in bear country.
Bear Safety Measures
Understanding how to behave in bear country is crucial for your safety and the bears’. Here are some key safety measures:
- Maintain Distance: Always stay at least 100 yards away from bears. If you encounter a bear, do not approach it. Give it space and slowly back away.
- Don’t Feed Bears: Feeding bears, whether intentionally or accidentally, can lead to dangerous situations. Bears that become accustomed to human food may become aggressive.
- Secure Your Food: When camping, store your food in bear boxes, in your vehicle, or use a bear hang. The majority of Yellowstone’s campgrounds have bear boxes, but in the backcountry, you’ll need to use a bear hang or use an approved bear resistant food container. Proper food storage is crucial to prevent attracting bears to your campsite.
Bear Spray: Your Must-Have Safety Tool
Bear spray is an incredibly effective deterrent in the unlikely event of a bear charging at you. Having it isn’t just a good idea, it’s a necessary part of your safety kit when exploring Yellowstone.
Here are some tips on how to handle bear spray:
- Accessibility: Keep your bear spray where you can reach it quickly, not buried in your backpack. Many people wear it on their belts or in a side pocket of their pack.
- Practice Makes Perfect: Familiarize yourself with how to use bear spray before you need it. Practice removing it from its holster and holding it properly. Just remember, don’t actually spray it unless it’s an emergency! To practice actually firing, you can use an inert (training) can of bear spray.
- Be Wind Aware: Before using bear spray, quickly assess the wind’s direction to avoid spraying yourself. Bear spray is potent, and getting it in your eyes or lungs is extremely unpleasant. Obviously, this is also why it works so well 😜, but you definitely don’t want to inadvertently spray yourself or those you’re traveling with.
For more detailed information on bear safety, including how to use bear spray effectively, check out this guide from the Yellowstone NPS.
Renting Bear Spray
If you’re flying into Yellowstone or prefer not to buy bear spray, you can rent it at various locations around the park and in nearby towns. Renting can be a more cost-effective and environmentally friendly option, as it reduces waste from partially used or unused canisters that can’t be taken back on flights.
Remember, bear spray is a last resort. The best way to avoid a bear encounter is to make noise while hiking, travel in groups, store food properly, and stay alert.
17. Stop at Visitor Centers
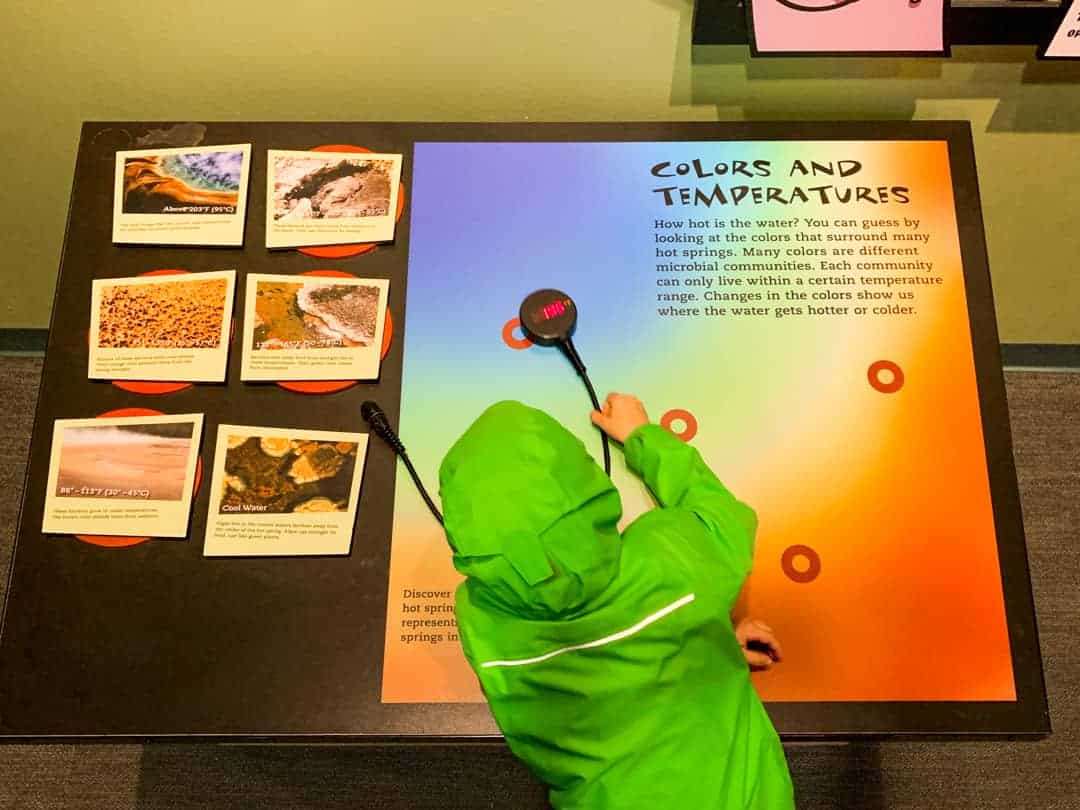
Visiting Yellowstone’s Visitor Centers should be near the top of your to-do list, not just a rainy-day activity. We absolutely loved the Visitor Center at Old Faithful! These centers are full of helpful information and insights that make them worth your time.
- Essential Information: Grab maps, brochures, and the latest on park conditions. Staff can offer tailored recommendations to maximize your visit.
- Ranger-Led Programs: Don’t miss out on these free, informative sessions ranging from wildlife talks to guided walks. They’re perfect for all ages and provide a deeper understanding of the park.
- Safety and Stewardship: Learn about bear safety, thermal feature precautions, and how to Leave No Trace to keep both you and the park safe.
- Exhibits and Films: Engage with educational exhibits and watch short films to gain insights into the park’s ecosystems, wildlife, and history.
- Plan Your Visit: Use the resources and staff knowledge at visitor centers to help plan your day(s) in Yellowstone, ensuring you hit all the highlights and make the most of your time.
18. Look at the Stars
Think there’s nothing to do after dark in Yellowstone? Think again!
Because of the park’s remote location and minimal light pollution, it’s the perfect place to catch some jaw-dropping night skies. Here are a few tips for making the most of stargazing in Yellowstone:
- Where to Go: Ideal spots for viewing the stars are open spaces away from the light of park facilities. Places like Hayden Valley, Lamar Valley, or Firehole Lake Drive are great options for wide open skies.
- Best Time: Clear nights with no moon will give you the best visibility. And if you’re hoping to see the Milky Way, your best chances are between April and November. I love the PhotoPills app to help me plan for photos and stargazing opportunities.
- Organized Ranger Programs: Be sure to check the calendar for ranger-led programs. During the summer, they can include stargazing opportunities with telescopes!
19. Don’t Forget the Scenic Drives and Mountain Passes
Some of our favorite memories from our trip to Yellowstone were exploring the park’s scenic roadways and mountain passes.
There are various options to choose from both in the park and nearby, including Beartooth Highway, Chief Joseph Scenic Byway, and the Teton Scenic Byway.
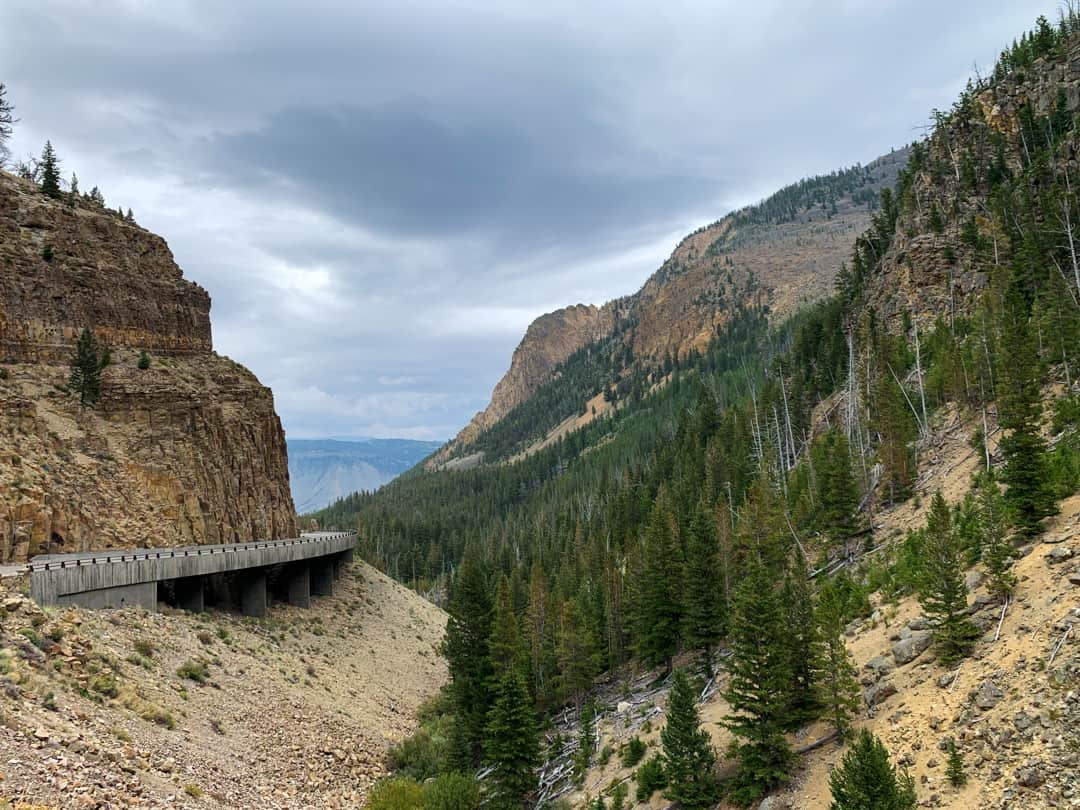
A couple of our favorite drives during our visit were Dunraven Pass, the highest mountain pass in the park, and Golden Gate Canyon, which has massive canyon walls and a unique history.
We loved hearing the details about these drives while listening to this self-guided tour.
20. Consider Guided Tours
If you’re feeling overwhelmed or have something particular you’d like to do or see while visiting Yellowstone, a guided tour could be the perfect choice!
Guided tours offer unique experiences, the chance to learn from experts, and less stress! Having someone else take care of the big details (and driving!) frees you up to enjoy the experience and keep your eyes peeled for wildlife sightings.
- Yellowstone White Water Rafting w/ Lunch: Tackle the Yellowstone River’s class II and III rapids for a day (~4.5 hours) of adventure, including a picnic lunch on an island for a thrilling way to experience the park’s wild side.
- Wildlife & Wolf Private Tour w/ Lunch: This tour is 6-7 hours long and offers an intimate look at Yellowstone’s wildlife, including wolves, in the Lamar Valley. Their expert knowledge of wildlife behavior and patterns can greatly increase your chances of spotting elusive animals like wolves. It’s perfect for families or groups looking for a personalized experience!
- 4 Day/3 Night Yellowstone & Grand Tetons Wildlife Adventure: Immerse yourself in the beauty of Yellowstone and the Grand Tetons over four days, with chances to see bears, wolves, and more while also hitting the highlights of the park. This comprehensive tour includes transportation, accommodations, some meals, and more.
- Self-Guided Audio Tour from GuideAlong: If you’re looking for a budget-friendly option or prefer to explore at your own pace, GuideAlong is perfect! This audio tour was a game-changer for us, making every mile through Yellowstone rich with stories, tips, and perfectly timed details. It felt like having a guide in the car without the schedule constraints. We discovered spots we would’ve easily missed and learned fascinating facts that made the park come alive in a whole new way. Our kids reminded us to start it whenever we returned to the car!
21. Download These Apps Ahead of Time
Before our Yellowstone adventure even kicked off, I loaded up my phone with a trio of apps that turned out to be absolute game-changers. Here’s the scoop on each:
- GuideAlong: As I mentioned above, this was our secret weapon for diving deep into Yellowstone’s wonders. It felt like we had a park ranger with us, dishing out stories and must-knows that brought the park to life in ways we never expected. Seriously, it was like the park was narrating its own story! And I loved that it’s GPS guided, so it automagically knows where to pick up the tour.
- Roadtrippers: Planning the trip became a breeze with Roadtrippers. It helped us plot our course, pinpointing all the cool spots we wanted to hit along the way and organizing them in the most efficient way (it can auto-organize your stops to minimize drive time 🤯). It’s a must-have for mapping out each must-see sight along the way and keeping your trip on track. Use code: STOKEFAM for $5 off
- Yellowstone National Park App: My favorite way to use this free National Park Service app was for the geyser eruption times, but it is also full of helpful information such as interactive maps, accessibility information, and more. It’s the perfect way to keep up with things happening throughout the park. You can even download certain content for offline use!
22. Have a Map and Your Itinerary Available Offline
Heading into Yellowstone, where cell service is as rare as spotting a wolf in broad daylight 🤪, having your map and itinerary available offline is crucial. Here’s how we nailed it:
- Offline Maps: Before we even crossed into Yellowstone territory, we downloaded offline maps. We had maps from the Yellowstone App and Gaia GPS, which came in handy more than once when we found ourselves in no-man’s land, signal-wise.
- Printed Backup: Call me old school, but we also had a printed map and itinerary in our glovebox. We were ready for anything if we ran out of battery or technology failed us.
- Itinerary Overview: We used Roadtrippers to plot our daily plans, including must-see spots, hike details, and more. We made sure these were downloaded for offline use, which meant we always knew what was planned next and had directions directly to each stop, even without a bar of service.
23. Commit to Taking Care of the Land and Animals
When spending time outdoors, it’s up to each of us to be good stewards, no matter where we are.
By working together and taking simple steps to care for incredible places like Yellowstone National Park, we can ensure future generations also get to experience its beauty!
Two ways you can show your commitment and promise to protect yourself, the animals, and the land are:
- Following Leave No Trace Principles: Keep Yellowstone pristine by staying on trails, packing out what you pack in, and leaving natural objects as you find them. It’s all about minimizing our footprint and letting wildlife thrive without human interference.
- Taking the Yellowstone Pledge: Essentially, the pledge boils down to following Leave No Trace protocols, safety tips, and respecting others, wildlife, and the places you visit in the park.
Let’s all do our part, deal?
Frequently Asked Questions about Visiting Yellowstone National Park
How can I travel to Yellowstone on a budget?
Traveling to Yellowstone on a budget? Opt for camping in the park for cost-effective lodging, and pack your own meals to save on food expenses. Utilize self-guided tours like GuideAlong for an affordable way to explore with expert insight. Additionally, visiting during the shoulder seasons can offer more lodging options at lower prices, making your adventure even more budget-friendly.
What are the don’ts of Yellowstone?
Don’t underestimate Yellowstone’s size, requiring ample travel time between sights. Don’t approach or feed wildlife, maintaining a safe distance for your safety and theirs. Don’t forget your camera to capture the park’s stunning vistas and wildlife. Don’t stray from boardwalks and trails, protecting both the park’s delicate ecosystems and yourself. Lastly, don’t rely solely on park restaurants; bringing your own snacks or meals offers flexibility and convenience.
Where should I stay when visiting Yellowstone?
When visiting Yellowstone, staying inside the park is a smart choice to reduce drive time. Canyon Village and Campground stands out for its central location, making it a prime spot to base your adventures. If you’re exploring Yellowstone for more than a few days, consider splitting your stay between two accommodations to minimize drive time and experience the park more fully.
Do you need reservations to visit Yellowstone?
No, you’ll need a valid entrance pass but you do not need to make reservations to enter Yellowstone. However, if you’re planning to stay overnight, you will want to make reservations for lodging to ensure you have a place to sleep.
Final Thoughts & Tips for Visiting Yellowstone
Now that you know my best tips for visiting Yellowstone, you’re equipped with the crucial details to help you make the most of your trip.
Whether Yellowstone National Park has long been on your bucket list or not, knowing these things will help you avoid common mistakes many people make on their first visit and plan the trip of a lifetime!
As you continue planning your Yellowstone vacation, be sure to check out my guides on the best places to stay in Yellowstone, the best things to do in the park, and a detailed 3-day itinerary to help you make the most of your time.
Want All Our Tips & Tricks to Plan Your Trip?
Grab a copy of our printable Yellowstone National Park Trip Guide & Itinerary and get our best tips, itineraries, and suggestions to make your trip easier – it even includes links to our personal Roadtrippers maps already done for you!
Just download your maps ahead of time, print (or download) the guide, and off you go!
Yellowstone National Park Trip Guide & Planner

Make planning easy with my detailed Yellowstone National Park Trip Guide & Planner!
More Yellowstone Planning Tips 👇
- Getting Started: Planning a Trip to Yellowstone: A First-Timer’s Guide
- Where to Stay: Where to Stay in (and Near) Yellowstone
- What to Do: 23 Awesome Things to Do in Yellowstone (Detailed Guide & Map)
- Itinerary Suggestions: The Perfect Yellowstone 3-day Itinerary to See the Most
- Tips for Visiting: Visiting Yellowstone: 23 Essential Tips & Things to Know
- What to Pack: Yellowstone Packing List: What You Need (and What You Don’t)

